Okay, so, I needed to make some thank you cards for my baby’s first birthday. Yeah, it was a big deal in our family, and we had a pretty big party. Lots of people came, and there were tons of gifts. I felt like I had to send out thank you cards, you know, to show some appreciation.
First, I went online and looked up some ideas for the messages. I found some simple ones like, “Happy 1st Birthday! You bring so much joy!” But I wanted something a bit more personal. So I decided to make the message unique for each card, mentioning the gift they gave and how much we loved it. Like, “Thank you for the adorable outfit, Sarah! Little Alex looks so cute in it.”
Next, I had to actually make the cards. I didn’t want to just buy some generic ones, so I got some card stock, some cute stickers with balloons and cakes, and some colorful pens. I spent a whole afternoon just crafting. I cut the card stock into smaller rectangles, folded them in half, and then started decorating.
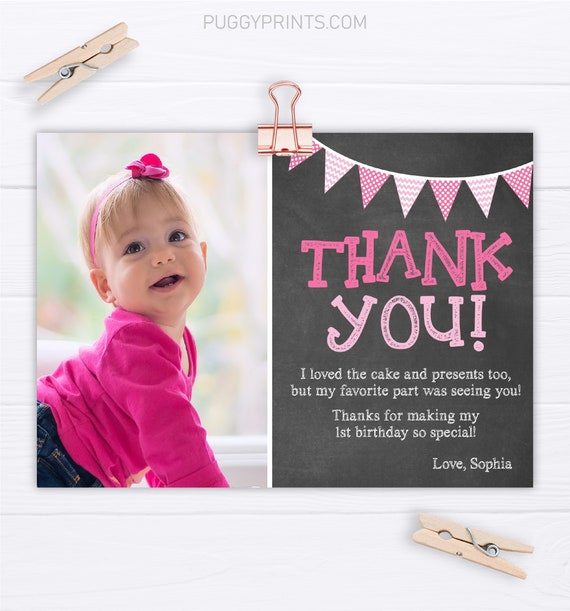
For the front of the cards, I kept it pretty simple. I put a big “1” sticker in the middle to represent the first birthday, and then I wrote “Thank You” around it. I tried to make my handwriting look fancy, but, well, it is what it is. Inside, I wrote the personalized messages I talked about earlier. It took a while to write out each message, thinking about each person and what they brought to the party.
I also made sure to add a little something extra in each card. For some, I printed out a small photo of my baby from the party and stuck it inside. For others, I drew little doodles, like hearts or stars, just to make it more fun. I even used some glitter glue on some cards, because why not? Glitter makes everything better.
After I finished all the cards, I addressed the envelopes. This part was a bit tedious, I had to make sure I had everyone’s correct address. I double-checked everything, put stamps on them, and then finally, I dropped them off at the post office. It felt good to have them sent out. I was a little worried people might not appreciate the handmade cards, I mean, they were far from perfect. I’m no artist, that’s for sure. But most of my friends and family actually loved them. They said it was a nice, personal touch. One of my friends even texted me saying she put the card on her fridge! That made me so happy.
Here is what I did to make those cards:
- Gathered supplies: card stock, stickers, pens, photos, etc.
- Designed the card layout and messages.
- Cut and folded the card stock.
- Decorated the front with stickers and a “Thank You” message.
- Wrote personalized messages inside each card, mentioning the specific gift.
- Added extra touches like photos or doodles.
- Addressed and stamped the envelopes.
- Mailed the cards.
Honestly, it was a lot of work, but it was totally worth it. It felt great to send out something I made myself, and it was a nice way to thank everyone for celebrating with us. Plus, it was a fun little project to do, and I got to be a little creative. I would definitely do it again, maybe for other special occasions. I think people appreciate the effort, and it’s just a nice way to show you care.